Sunday, April 29, 2012


Jen's Pug

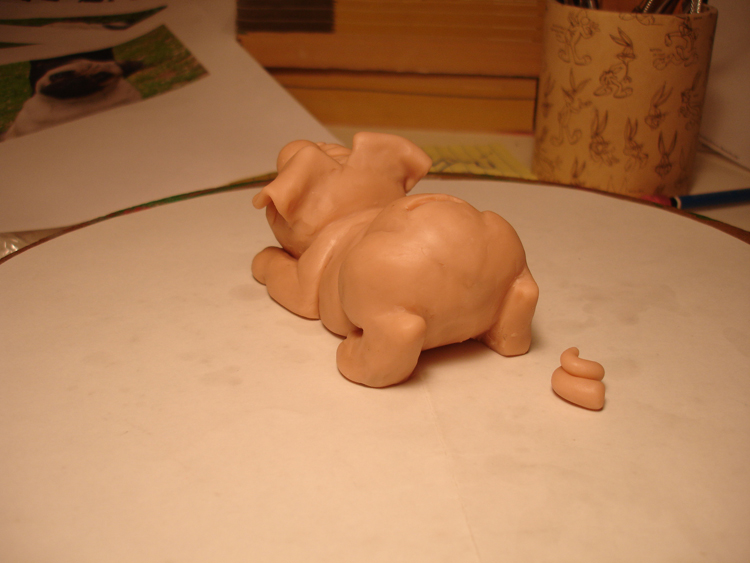
I think this is the first real toy I designed and sculpted! I wanted to give my GF at the time a birthday present and she owned this little pug named Mushu, who had a slight nerve problem that caused his tongue to hang out constantly. It was pretty cute. So I made a toy of him for her!


I thought it would be fun to make a little pug that when you wiggled his tail, the tongue would move across his mouth.  I thought it would be pretty easy to hide a simple lever mechanism inside his body.


I started by sculpting the whole piece as I normally would. The tail I did as a separate piece because it had to move.  I also dug a slot where the mechanism for the moving tail.


Then I cut him in half and baked in the oven! Boo-hoo-ha-haha!


After the pieces were baked and cooled, I took my Dremel tool and carefully hollowed out the inside of the both body pieces. I drilled a small hole in the front of the mouth as a guide so I didn't drill out the mouth too far.


I took an eye hook and screwed it into the top of the back piece. I put some epoxy putty around it to make sure it wouldn't come out after I put the halves back together!  The wire that will eventually connect the tail and the tongue was run down the back slot through the eye hook and finally out through the mouth.


I pre-painted the mouth black since I didn't want to paint it with the tongue in place.


The tongue I made with 2 felt pieces sandwiched over a thin metal loop.  This way, with the wire inside, the tongue could be posable.


The tongue wire was attached with more epoxy putty.


I put a "diaper" around the felt so it would stay clean... cuz I'm a slob.


With the mechanism in place, I joined the two halves together using epoxy putty and sanded it smooth when dry.


All primed for paint!


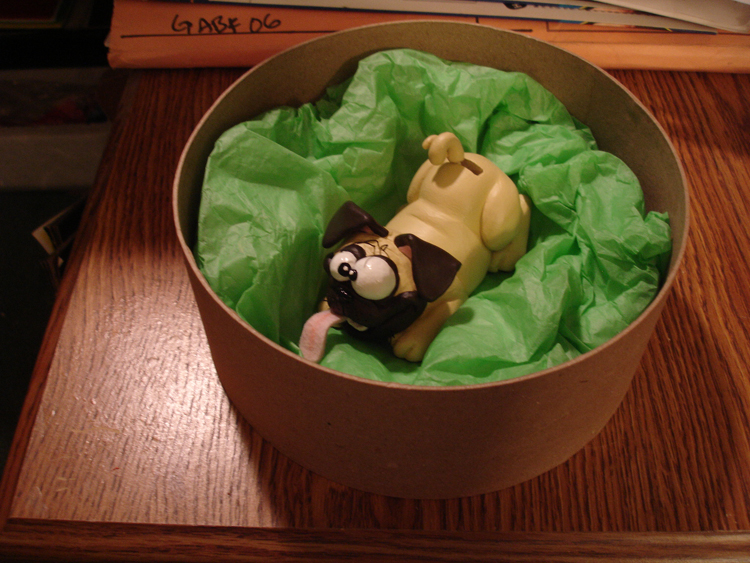
And finished! Turned out pretty cool. Check out the video so you can see him slurp!


I put little felt paw pads on the bottom and signed it for Jen. She really dug her pug!

Jen with her Mushu II !

Mushu with Mushu II !


MUSHU PUG TOY VIDEO


UP NEXT...
...Why so serious...?

Saturday, April 23, 2011

MaquetteProject- entry 13


With all the pieces done, all that's left is the paint. I tried to match the colors in Erick's model as closely as I could.


After the base was painted, I secured the brass posts into the holes I had set into the sculpey. You can see that the footprints to kinda guide where the figures should go.


Erick wanted the base left unfinished, so that was easy.


Matching the paint was kinda difficult. These characters had some strange colors. What I ended up doing was testing the colors by painting a little onto the color model sheet itself to see how close I was getting!


TA-DA ! Finished.


VIDEO ENTRY 13-A


VIDEO ENTRY 13-B


Thanks for checking in.


On to bigger and better things.


UP NEXT:


Saturday, February 19, 2011

MaquetteProject- entry 12


Almost finished! I hope you aren't bored with this project- because I am. The only thing left now is just refining the details and sharpening up lines and stuff. I use dental instruments to tighten up details like around eyes and in between folds in clothes or skin... areas where I just can't reach with sandpaper. Sometimes I'll cut an orange stick in half the long way and make my own sanding sticks to smooth tight areas.


I mark high spots that I want to sand down with a Sharpie or lead pencil. I mark right on the sculpt- it doesn't matter since I'm gonna sand it down until the mark doesn't show anymore. I usually circle shallow spots and then fill them up with putty- then sand those spots smooth too.


The base the characters are on is pretty simple- sand dirt and rocks with a small cactus. But I still need to do it in Erick's style. I followed the drawing again while tweaking a few things so they would work better in 3 dimensions.


I pressed the characters' feet into the sculpey a little so they'll set nice on the base after it's baked. Later I'll put some posts into the base for the 2 maquettes to rest on so they don't fly off when you move the piece.


I placed this base on foil so when I bake it inside my Pyrex pan, it'll be easy to get out and won't stick to the glass. The foil will peel right off and the slab will be nice and flat!


Test run.


Ta-da! All primed in primer gray and ready for some color.


VIDEO ENTRY 12_A


VIDEO ENTRY 12-B


VIDEO ENTRY 12-C

VIDEO ENTRY 12-D

Until next time...!